
If you follow us on facebook, you might have already seen this. I put it up to show everybody my latest project. But, I quickly took it down because my sister got worried that my mom might see it before I had a chance to give it to her. I’m happy to say that I gave it to her last week and she seemed to really like it.
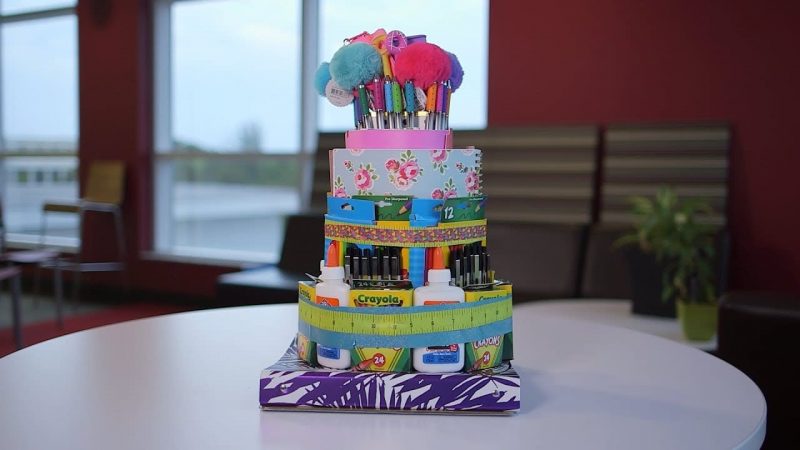
I got the idea for this gift on–you guessed it–Pinterest. I thought it was a great way to dress up some school supplies for a teacher. The end total for mine came in at a little over $35. Below is a picture of mine compared to the original.

Here’s a breakdown of the supplies
$3 for 3 boxes of Kleenex (The original blogger used nesting boxes, but I wanted something that was a little more useful. I chose to use two rectangle Kleenex boxes for the bottom tier and one square Kleenex box for the second tier (on sale and with a coupon, they’re dirt cheep this time of year).
$3 for 1 box of Wet Ones
$3.20 for 8 2-packs of glue sticks
$2 for 4 bottles of glue
$1 for 1 package of travel kleenex
$4 for 4 travel sized bottles of antibacterial lotion
$3 for a 3-pack of travel size bottles of Advil (what teacher doesn’t need a little headache medicine from time to time?)
$2 for 2 travel size Shout wipes
$6 for 2 boxes of washable markers (I bet these can be found for cheaper during back-to-school season)
$2 for a roll of silver wrapping paper
$5 for ribbon and Christmas flower
$3 for 6 boxes of crayons
The How To
I wrapped 2 rectangle Kleenex boxes together with silver wrapping paper to create the base. Then I wrapped a square Kleenex box and the Wet Ones Box. The wrapping doesn’t need to be perfect, because most of it gets covered by the supplies. I used a hot glue gun to attach the supplies to the boxes. *Note, the hot glue will melt the plastic of the travel Kleenex, so I applied a strip of masking tape to the back and placed the glue on that. I used clear packing tape to keep the markers in place and tied the ribbon together with binder clips.
In all honestly, I wasn’t overly impressed with my crafting abilities on this one. It didn’t seem nearly as nice as the original. And, well, it probably could have used some more embellishments like the bows in the original. But, I sort of ran out of steam…and time. So, this is what we ended up with. All in all, I think it’s a great idea for a teacher gift and I’m sure some of you artsy people could make it look really great. If you do…make sure to share a photo, I’d love to see it!