Freezer Paper Transfer Tutorial
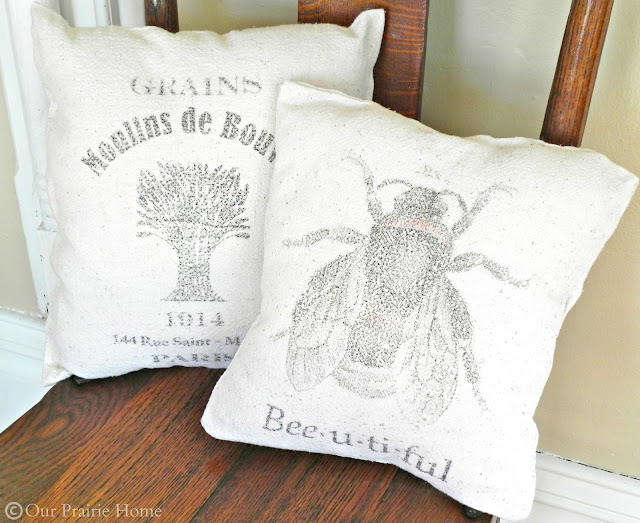
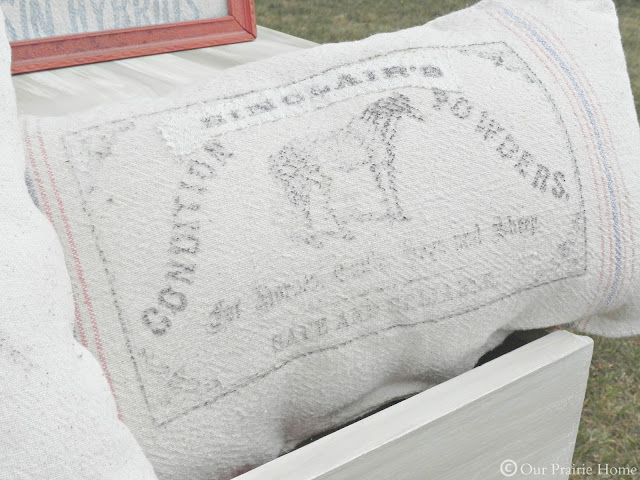
I’m going to show you how I made these pillows from grain sack scraps. Specifically, this pillow is because it’s the only one that I took pictures of throughout the process…
Okay…
Let’s get started.
First of all, what do you need?
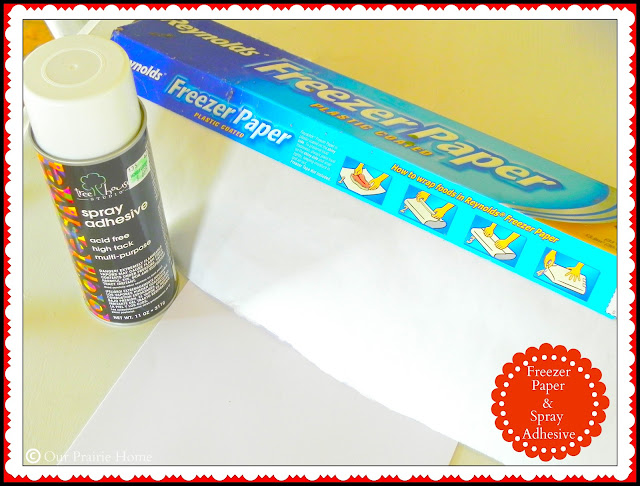
1. Printer Paper
2. Spray Adhesive
3. Freezer Paper
And yes, you really need the spray adhesive.
I tried the cheap way out and tried to simply tape the freezer paper to the printer paper.
Yeah.
Doesn’t work.
Spray the piece of paper with the Spray Adhesive and adhere your freezer paper to the printer page PAPER SIDE DOWN.
The waxed side of the paper should be facing out.
This is the side you’re going to print on.
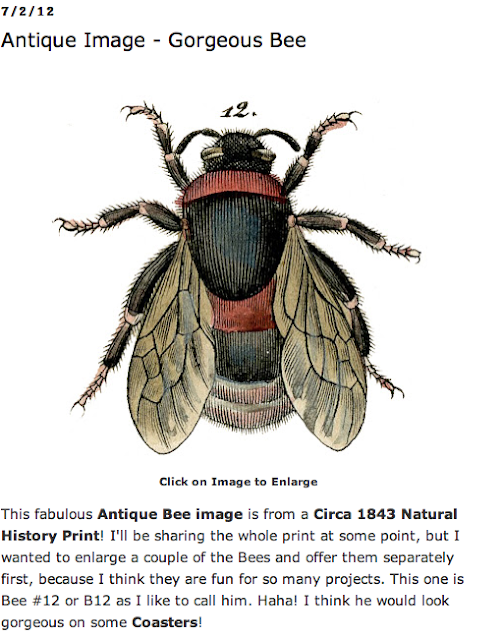
Next, you’re going to find an image online to use.
The Graphics Fairy is a great place to find just about anything you would want to use, but I would imagine any image online would work.
For the sake of illustration and because it’s what I used, here’s The Graphics Fairy.
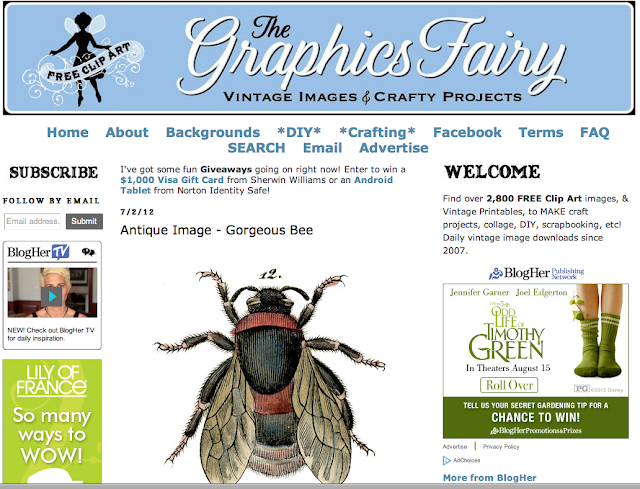
For an image, she gives you a couple of options.
For this particular illustration, you’re going to need to download the image onto your computer.
I use an iMac, so if you have a PC, you’re going to have to muddle through this part yourself.
SORRY!
These are the step-by-step instructions to download your image to a Mac.
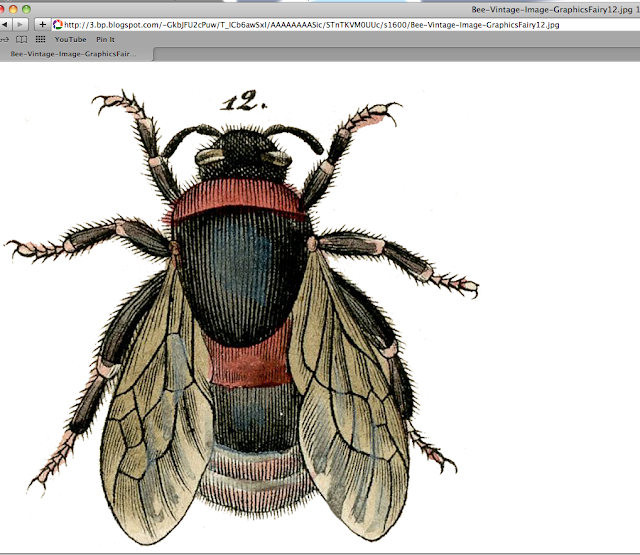
1. Click on the image to make it larger.
Another screen or tab should open on your computer
and then you’ll have this:
2. Save this image to your computer.
Right-click on the image.
You can download it or you can “Save Image As”.
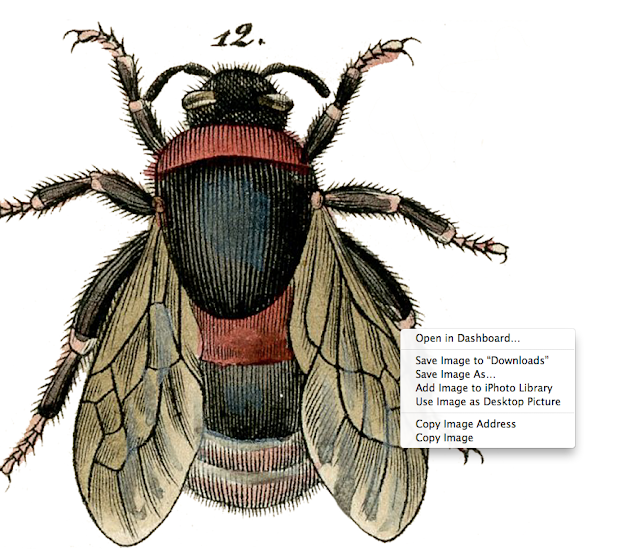
I chose to SAVE it onto my hard drive first…
and then transfer it to my “Crafts” Folder.
Yes, I have a Crafts Folder on my computer.
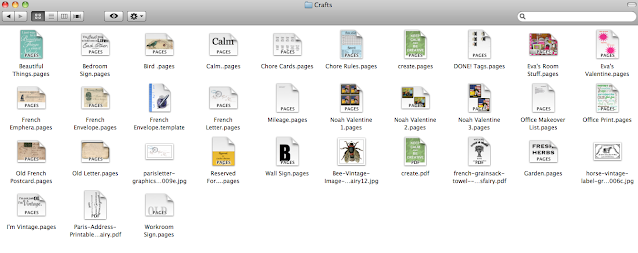
3. Click on the file to open it again.
On an iMac, it’s going to open in your “Preview” folder.
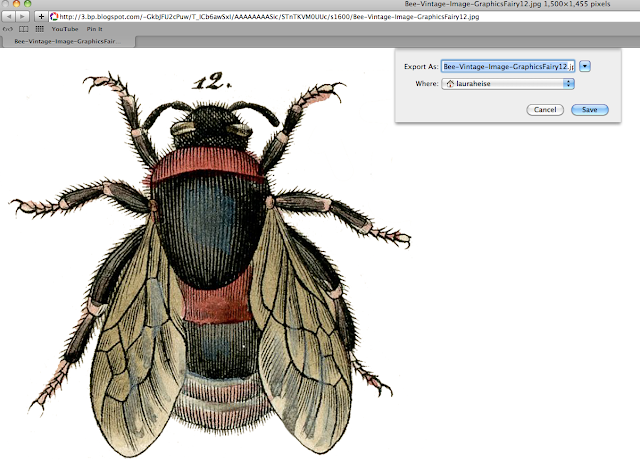
4. Next, you’re going to want to PRINT it.

5. When the Printer opens, you’re going to want to REVERSE THE IMAGE.
This is IMPORTANT.
If you don’t reverse the image or select “mirror image”, if there is any writing on the image, it will be backward on your transfer.
For an iMac, you’re going to change the “Layout” on the printer tab.
Click “Preview”.
Then click “Layout”.
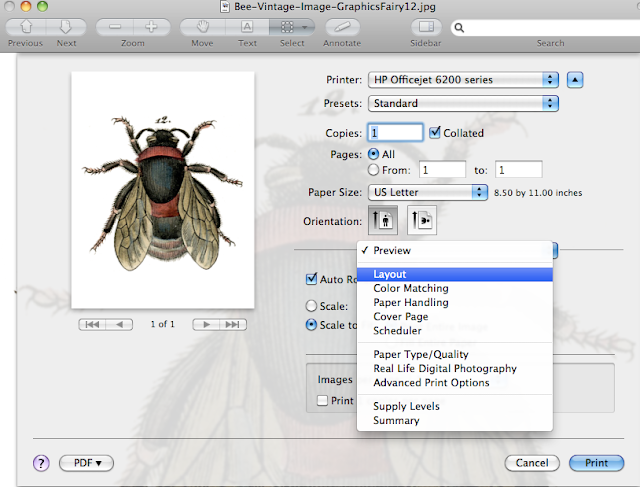
Then you’re going to check the “Flip Horizontally” box.
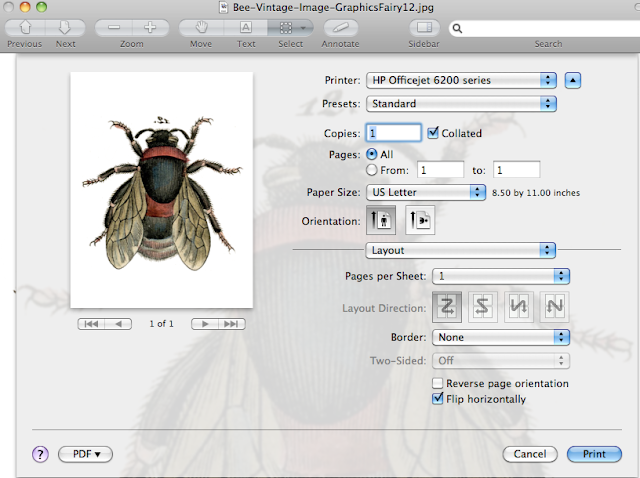
This will reverse the image.
6. Take the piece of paper that you’ve adhered the freezer paper to and place it freezer paper side DOWN into your computer tray.
7. Print the image.
Be careful when you pick up the paper. It WILL smear if you touch it.
8. Turn the paper upside down over whatever it is you’re transferring to and lay it face down CAREFULLY.
9. Gently, apply firm pressure all over the paper to transfer the image from the freezer paper to the object.
Be careful not to move the piece of paper or your image will smudge.
I can’t stress this enough.
It’s a fine line between applying enough pressure to transfer the image and so much that your paper moves and your image smudges.
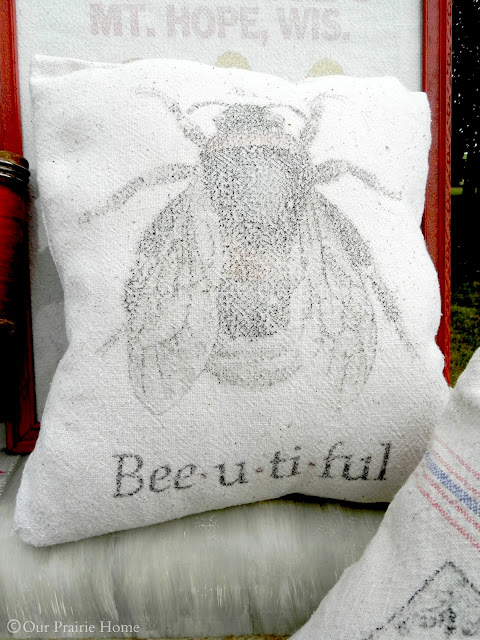
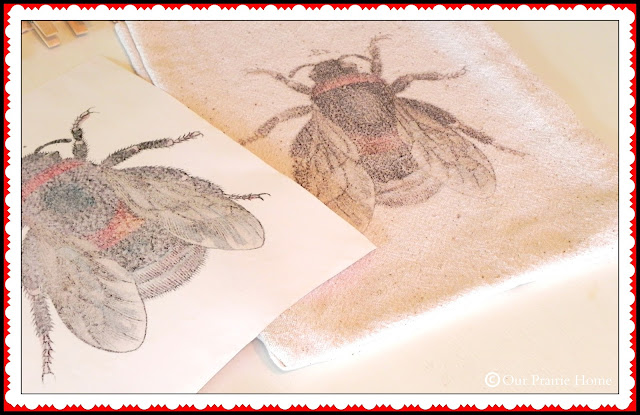
10. Carefully lift off the paper and you should have this:
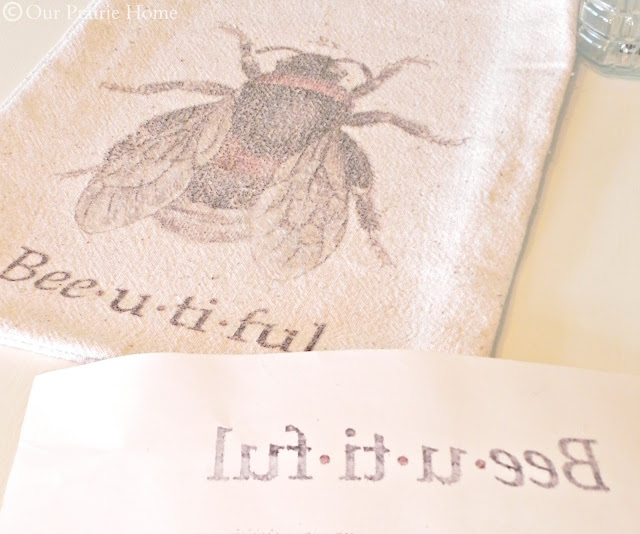
If you really want to go all out, you can go into iPages or Word and make some wording to go underneath your image.
Just remember to reverse the image before you print it.
And that’s all that there is to it.
Now, for those of you that freaked out over all the above steps, there’s an easier way, but your options are a little more limited.
The Graphics Fairy also sometimes provides images that are already reversed, like the one below…

In that case, it’s easy to click on the “HERE” and just print out the PDF onto your freezer paper sheet.
![]()
The other way is just as easy.
There are just more steps to it.
And options are limitless…
You can even print out a portion of the image onto a smaller piece of cloth and hand-stitch it onto a pillow to give it some depth.
Honestly, the first couple of times I attempted it, I wasn’t sure how Karin @ ArtisBeauty got her images onto her surfaces without smudging.
Like with anything worth doing, practice is key.
And the great thing about freezer paper transfers is it is REUSEABLE.
Did you mess up?
Smudged the image before you got it on your object?
No worries.
Simply wipe off the image from the freezer paper with a damp paper towel.
I used the same sheet for all three pillows.
Practice on some scrap cloth first or on some scrap wood until you get the hang of it.
You’ll be doing it like a pro in no time flat.
UPDATE: This method is NOT machine washable. I found this out AFTER I washed a pillow and it took the entire print off.
You can easily remedy this by marking over your image with a Sharpie marker. This will make the image permanent.