Are You Thinking About Building a Coop?
Contents
- Are You Thinking About Building a Coop?
- My First Chicken Coop
- My Second Chicken Coop
- My Third and Most Recent Chicken Coop
- Step 1: Finding the Right Location
- Step 2: Digging and Building the Foundation
- Step 3: The Outer Walls
- Step 4: The Roof
- Step 5: The Roosting Box
- Step 6: Placing Hardware Cloth or Chicken Wire
- Step 7: Building the Doors
- Step 8: Building the Laying Boxes
- Step 9: Finishing Exterior Walls
- Step 10: Roosting Bars and Ramp
- Step 11: Additional Items to Make Your Life Easier as A Chicken Owner
If you are a chicken owner or thinking about getting chickens, you may want to think about building or buying a chicken coop. Alternatively, you can let them roam free but you have to consider potential predators. When we first got brand new chicks, three years ago, we came into the whole process somewhat blind. Chicks grow fast, and within a few weeks, they will outgrow the box that you most likely started them in.
You can find numerous pre-built chicken coops online, or at stores such as IFA, Cal Ranch, or Home Depot. In my opinion, they are way too small for what you pay for and are not the highest quality.
After a lot of digging around on the internet, I came to the conclusion that if I really wanted a nice chicken coop I would have to build it myself.
This blog post will talk about the previous chicken coops that I have built, as well as the process of building my latest coop.
My First Chicken Coop
The first chicken coop I built was also for my first flock of chickens. I based it on the Wichita Coop and built it with a lot of recycled lumber from a house remodel we were doing at the time. The floor of the hen house, for example, was made from our discarded Formica kitchen countertop.
It was crazy easy to clean. I believe all in all it cost about $800 to build and it was a tank. It was a little clumsily constructed, in part because of the location, in part because it was my first coop, but overall a very fine chicken coop.
My Second Chicken Coop
My second chicken coop was put together rather quickly. We lived in an area where I assumed we had a lot fewer predators, and we were in a home where we thought we would not be for a long time. I focused on cheap and mobile. It was smaller and built in three sections so we could move it easily.
It cost around $150 to construct and was a perfectly adequate coop. We did end up moving, but unfortunately had a month of couch surfing between houses. I was forced to sell the ladies and the chicken coop, which did in fact end up fitting in the back of a pickup truck.
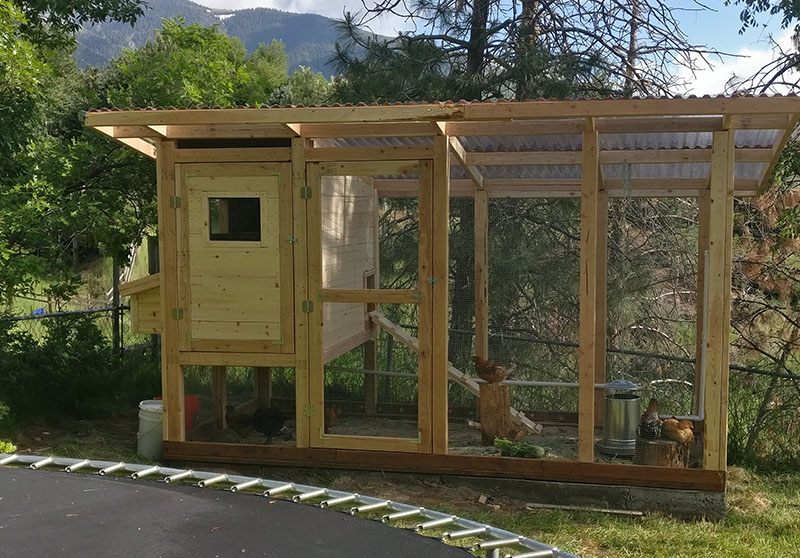
My Third and Most Recent Chicken Coop
For our third chicken coop, we had a good idea of what we wanted. We wanted a large flock to match our growing family, so we picked up twenty chicks. They quickly grew big and stinky, which forced me to put the next chicken coop together quickly. It wasn’t long before they outgrew their cardboard box, then their large plastic tote, and then their extra large brooder box – which I also built.
My third chicken coop is similar in design to the first, though by this point I didn’t feel I needed any designs to follow as I constructed it. The big major difference is I wanted a concrete base. This was to act as a foundation for a strong chicken coop, and to keep out predators since we live in a forested area close to the mountains. Rather than use cinder blocks, I opted to mix cement instead. In total this chicken coop probably cost around $1200.
I wanted to write this blog to go through the process of building your own chicken coop. The details will be somewhat general, however, if the post does end up being popular then I think I might put together a .pdf or something with more detail on how to build it. So demand it, tell your friends, share this post, leave comments, and I’ll make it happen!
Step 1: Finding the Right Location
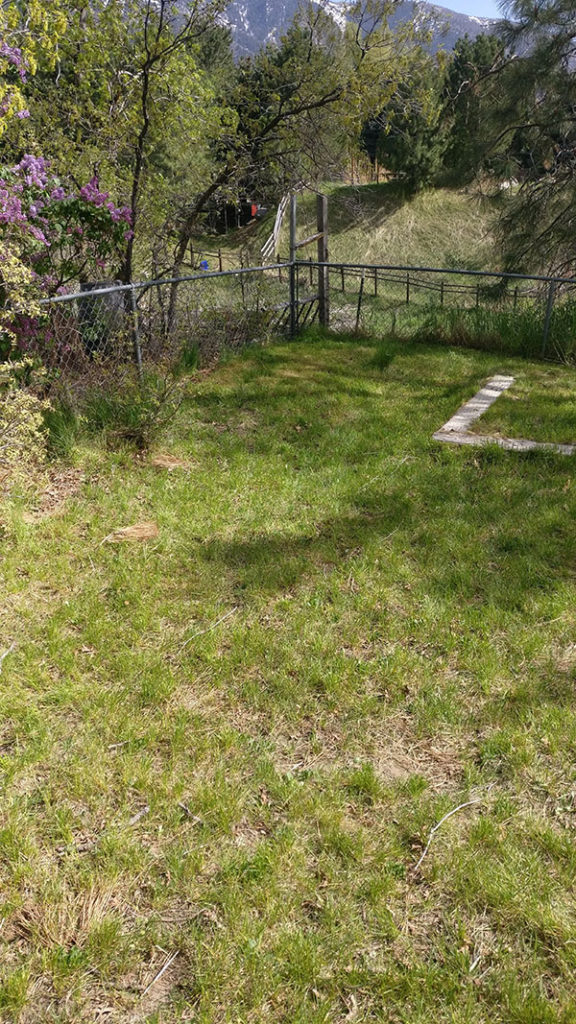
The first step of the building a chicken coop process is to find the right location on your property.
I wanted a spot that was easily accessible, but not right next to the house. Our yard is also pretty uneven so I also wanted to find a spot that had the least amount of grade to make it easier on me. In addition, the location had to be no less than 20 feet away from our neighbor’s home. I ended up settling on a spot in the far corner of our backyard.
We had purchased 20 chicks assuming that a few might not make it to adulthood and that a couple of them might end up being roosters. I wanted a chicken coop that would allow each chicken at least 3 square feet so I decided to build my coop 6 feet by 12 feet, with a roof of 8 feet by 14 feet. As it turns out, all the chicks survived and they were all female. The good news is they have plenty of room, and the even better news is we will get lots of eggs.
Step 2: Digging and Building the Foundation
After finding the right location measure and mark the area with string and stakes.
I began digging where I would lay the forms for the concrete foundation. For my first chicken coop, I dug just deep enough to add hardware cloth underneath the entire coop so that predators could not dig under. For this one I decided to use concrete and gravel, so to start I first dug down deep enough to make the base level.
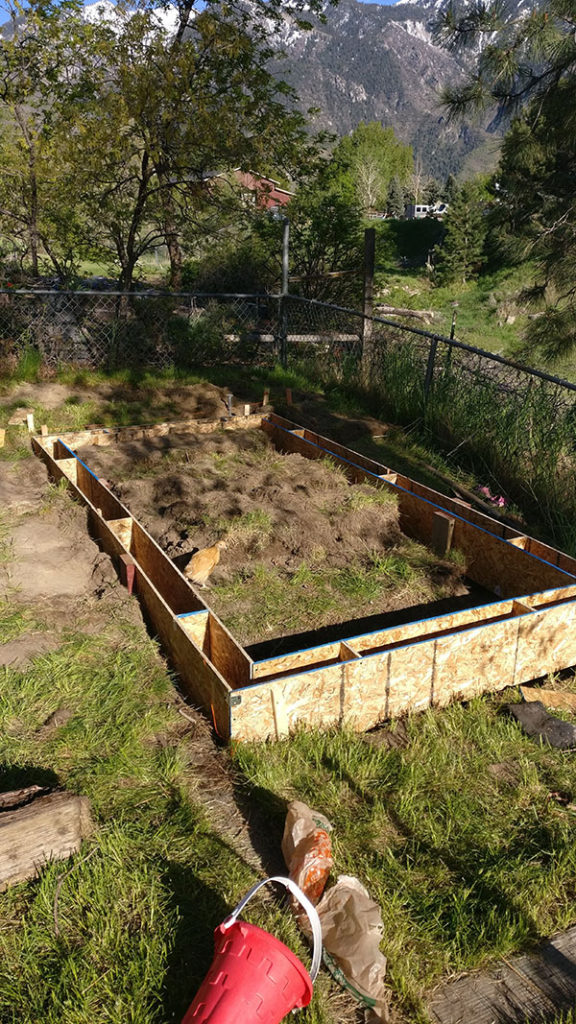
Create concrete forms. Fill with wet concrete. Add bolts for securing the base.
For the concrete forms, I decided to go the cheapest route I could think of. I went to Home Depot and had them cut two sheets of plywood into 12-inch strips. I laid these out where I dug the perimeter of the coop and used them as forms for my foundation. After getting them into the ground I thought they looked pretty darned good.
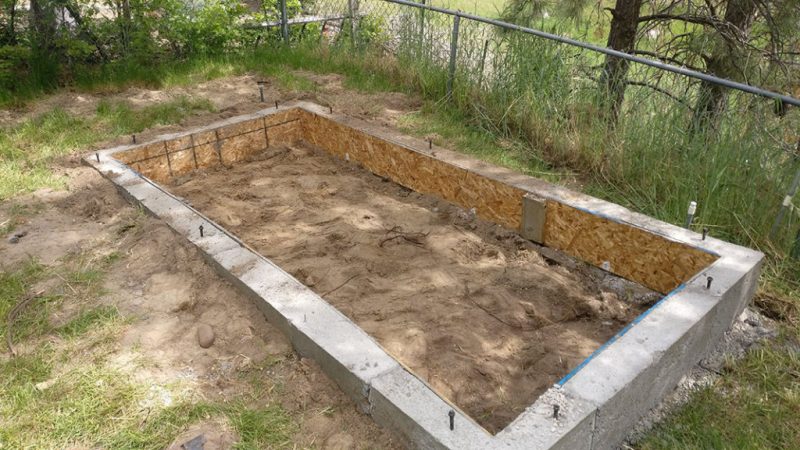
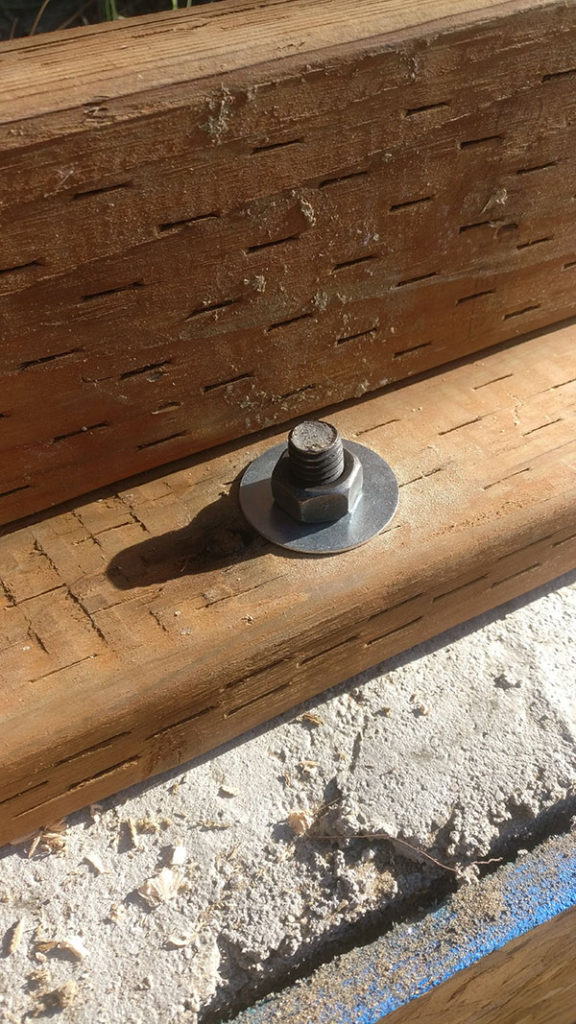
I decided to hand mix all the concrete. I do not recommend this. All the concrete needed for this size of chicken coop came out to be 21 bags. Each bag was full of 80 pounds of concrete dry mix!!! That is well over 1600 pounds of dry concrete that I mixed by hand. As I filled the forms in sections I realized the error with my forms. The plywood had too much give and so they bowed out a bit. In the end, it still worked out fine, but if I were to do it again I would either opt for more solid forms or use a lot more stakes to secure the forms against bowing. I also picked up several concrete anchor bolts that I added to the concrete while it was still wet. This allowed me to bolt on the base of the coop instead of just letting it rest on the foundation. My forms were 12 inches tall and 5 inches in width.
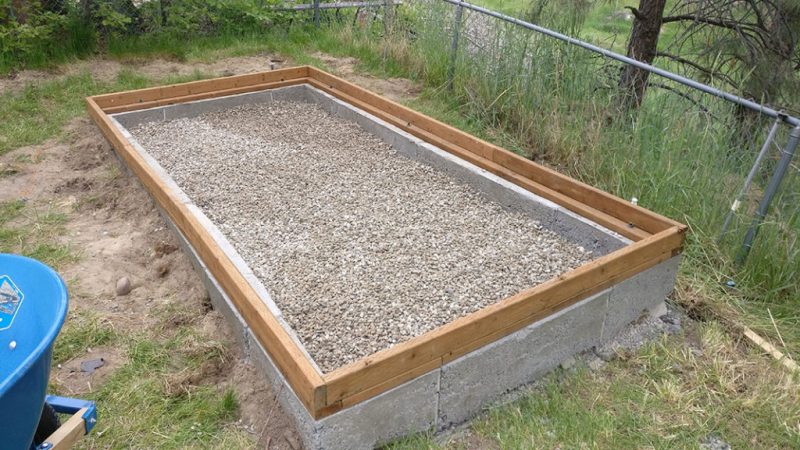
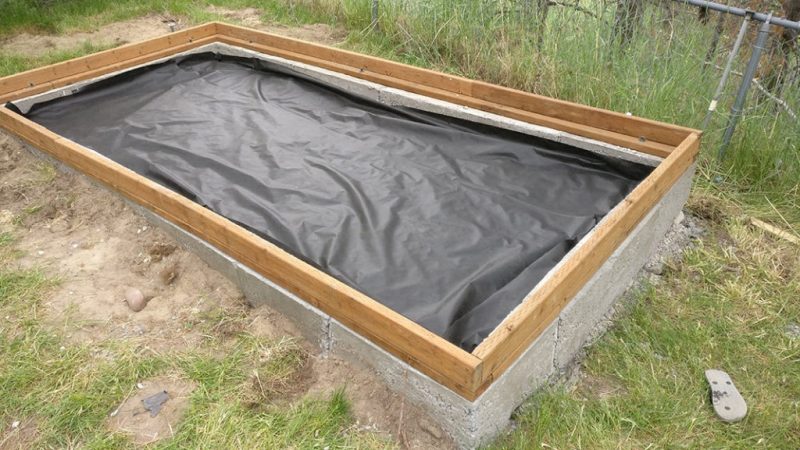
Level base of the chicken coop and fill with gravel, weed barrier and sand.
After bolting down the base plates of the foundation of the coop, I had a couple of tons of gravel and a couple of tons of sand delivered. I finished digging out the inside of the chicken coop and the ladies’ run and then proceeded to add about six inches of gravel on top of that. Following this, I laid out a weed barrier and an additional six inches of sand. The sand is nice as it acts as a natural anti-bacterial and you can sift it a couple of times a year to give it a refresh. I didn’t quite use all the gravel, but I did end up using all the sand.
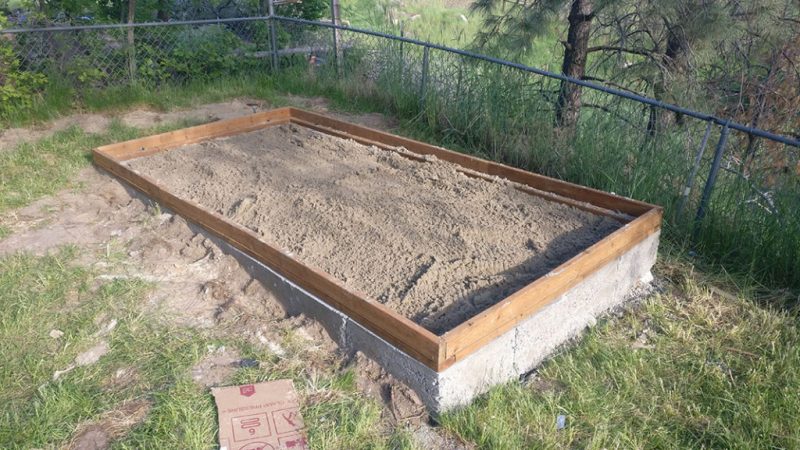
Fill the base with sand
Step 3: The Outer Walls
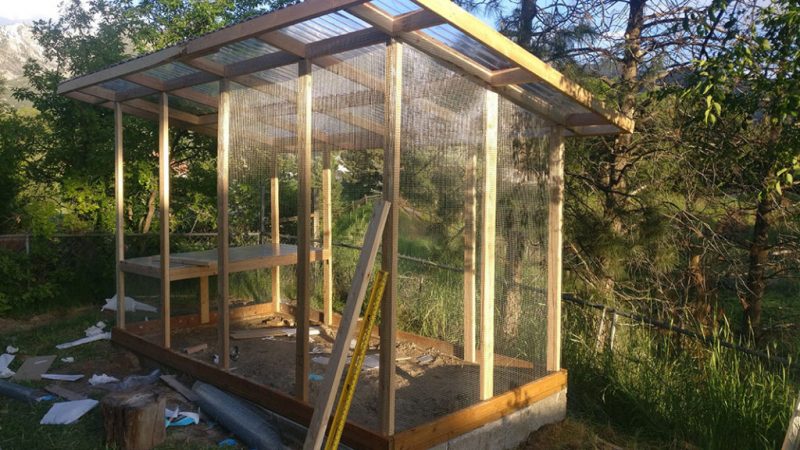
Build outer walls one foot higher on one end to allow for a sloped roof.
Next, I started on the outer wall posts. I went with 7.5 feet in the front and 6.5 in the back so the roof would have a one-foot slope. I placed them 36 inches apart from the center. This way it would be easy to staple down the 3-foot wide hardware cloth when it came time to add it. I like using 1/4 inch hardware cloth as opposed to chicken wire. I have a lot of predators where I live and from what I understand the only thing chicken wire is able to keep out is… chickens. As I constructed the chicken coop outer walls, I used some temp wood supports to hold them squarely in place as I put them together.
Step 4: The Roof
Use clear materials for the roof to allow for maximum sunlight and vitamin D production.
Of course, on top of all this, I built the roof. I decided to go with the clear plastic roofing materials again, similar to the first chicken coop I built. The reason for this is that I wanted the ladies to absorb as much vitamin D from the sun, and increase egg production. With my first coop, I pre-built the roof in two pieces and then placed them on top. This time I just built the roof where it would go which ended up being so much easier.
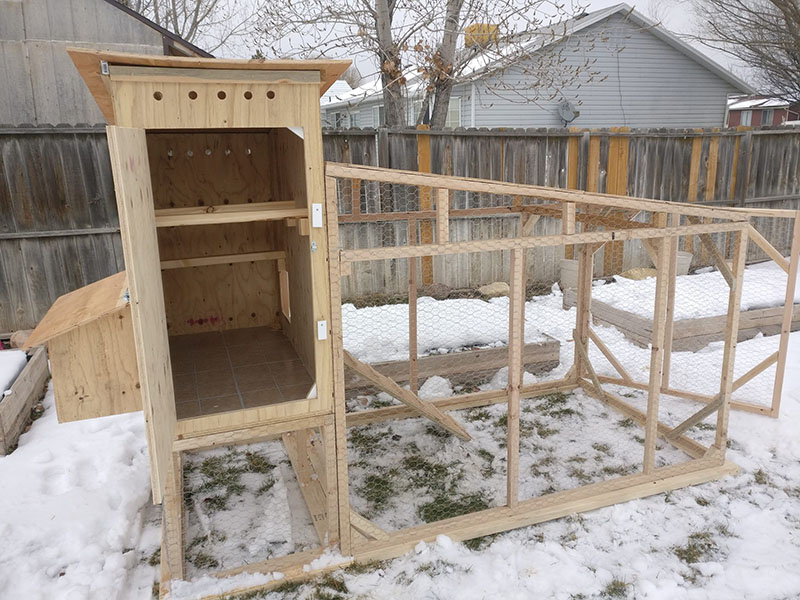
Step 5: The Roosting Box
Use easy-to-clean material for the floor of the roosting box such as vinyl.
The hen box is 3 x 6 feet. This allows me about 4 roosting bars with plenty of space for the 20 ladies. I went with 12×12 in vinyl peel and stick for the flooring. I just chose the cheapest at home depot and used vinyl adhesive to make sure it was extra secure. This makes cleaning up a snap.
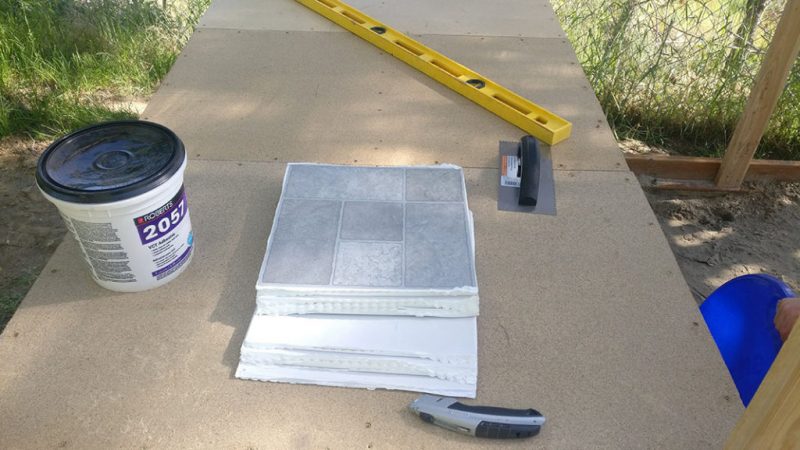
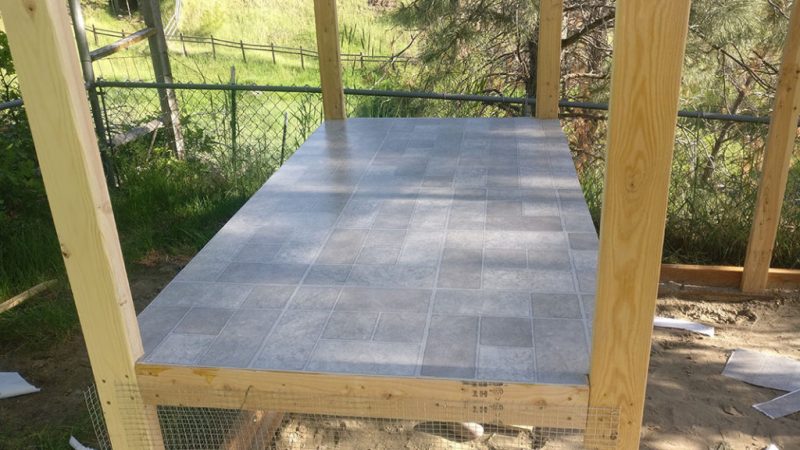
Henhouse floor complete
Step 6: Placing Hardware Cloth or Chicken Wire
Line walls with hardware cloth wire mesh to enclose the chicken coop but allow light, air, and visibility.
After finishing up with the vinyl floor I went back to hanging the hardware cloth wire mesh to the walls. I used a staple gun to stick them to the 2×4’s and since the walls were just the right distance I only had to cut the mesh at the tops. Staples are adequate to attach the mesh because afterwords I screwed on an additional 2×4 which additionally secured the mesh bin place between them.
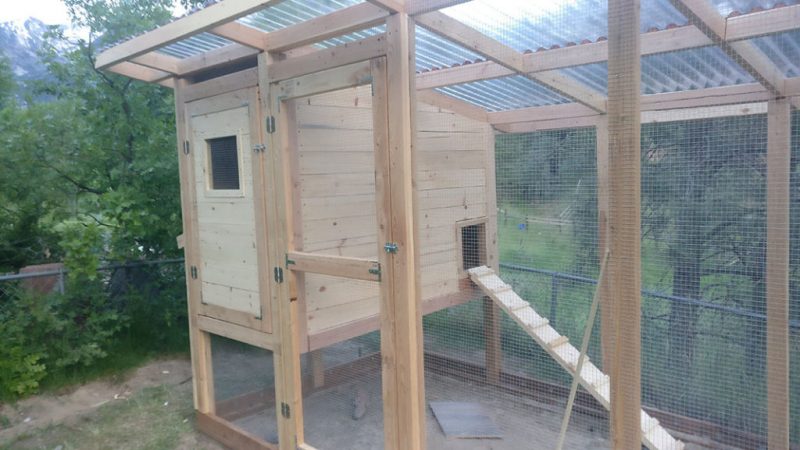
Step 7: Building the Doors
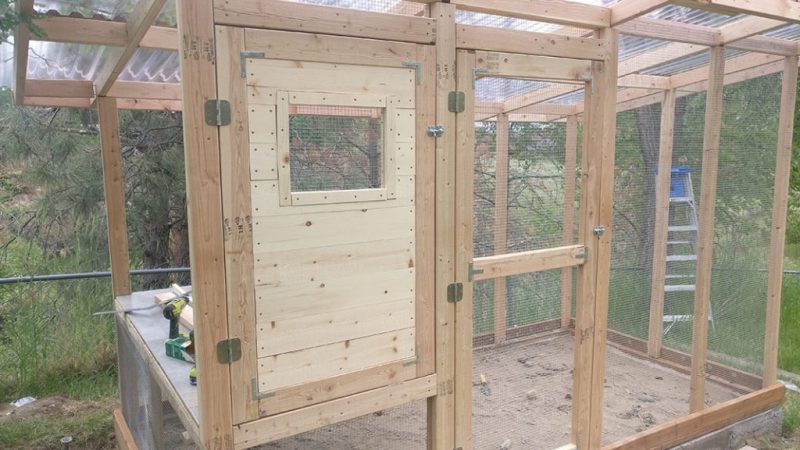
Build doors to the hen house.
Not sure where to start next I decided that the doors were an obvious choice before moving on to the rest of the hen house. I opted to install the doors as I built them, rather than trying to build preassembled doors and then hope that they fit properly. I started with the hinges and the 2×4 they were attached to and went from there. I was able to achieve the perfect fit with a 1/4 inch gap around all edges.
On the hen house door, I built a window with a mesh insert and an acrylic window that I framed with wood that could be inserted during the winter to cut down on drafts.
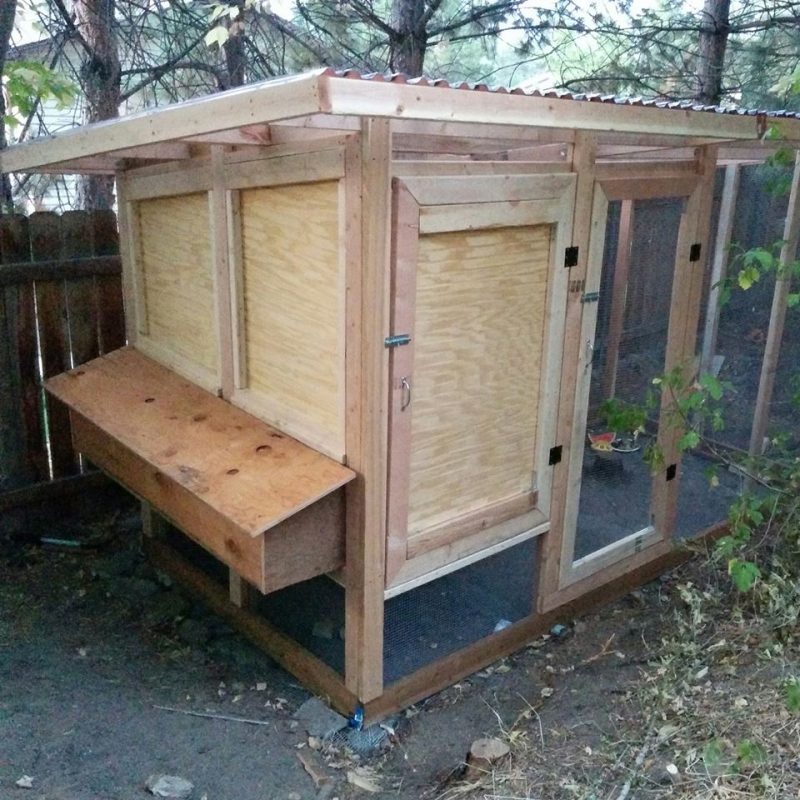
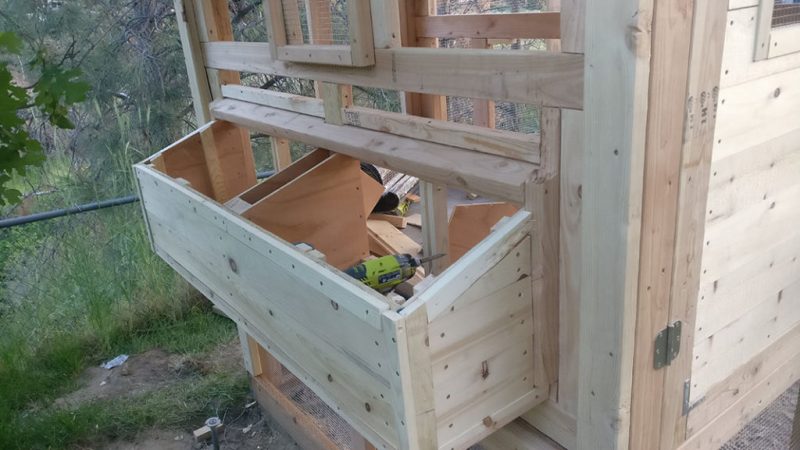
Step 8: Building the Laying Boxes
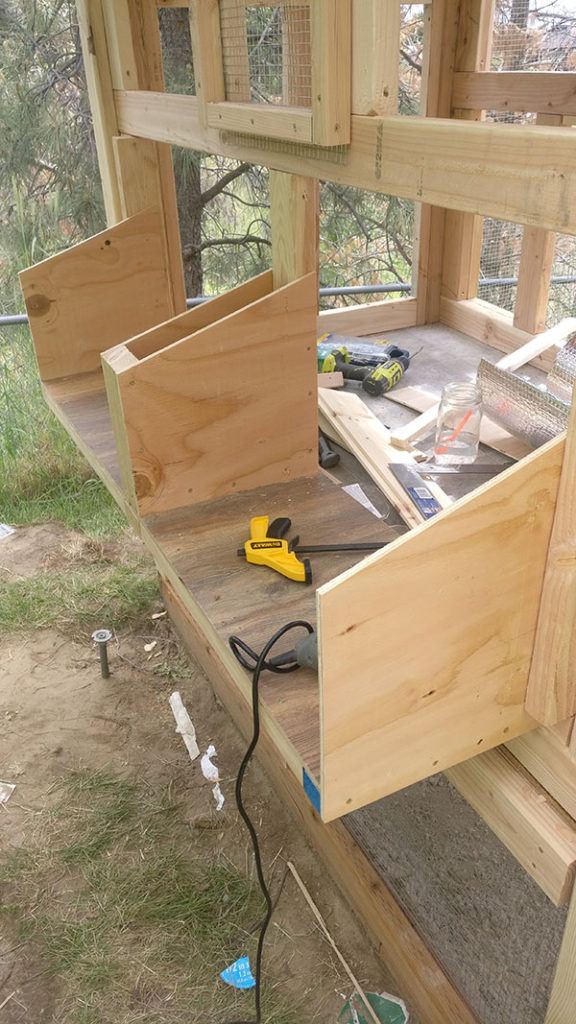
Add laying boxes to the exterior of the hen house accessible from the inside.
For the flooring of the nesting boxes, I used a large Pergo flooring sample board that I got with the pallet of Pergo I had just installed in our house. I didn’t make use of much-recycled material for this coop, but I thought the wood texture looked cool and would clean up easily… time will tell.
4 nesting boxes might be a bit overkill, but I like the symmetry and it filled up the space. I don’t think the chickens will complain or make a fuss because they have too many options when it comes to laying their eggs.
Step 9: Finishing Exterior Walls
Finish work.
After completing the nesting boxes, I finished lining the exterior of the chicken coop with the rest of the pine lapboard on the remaining walls and sandwiching the rest of the mesh with 2×4s.
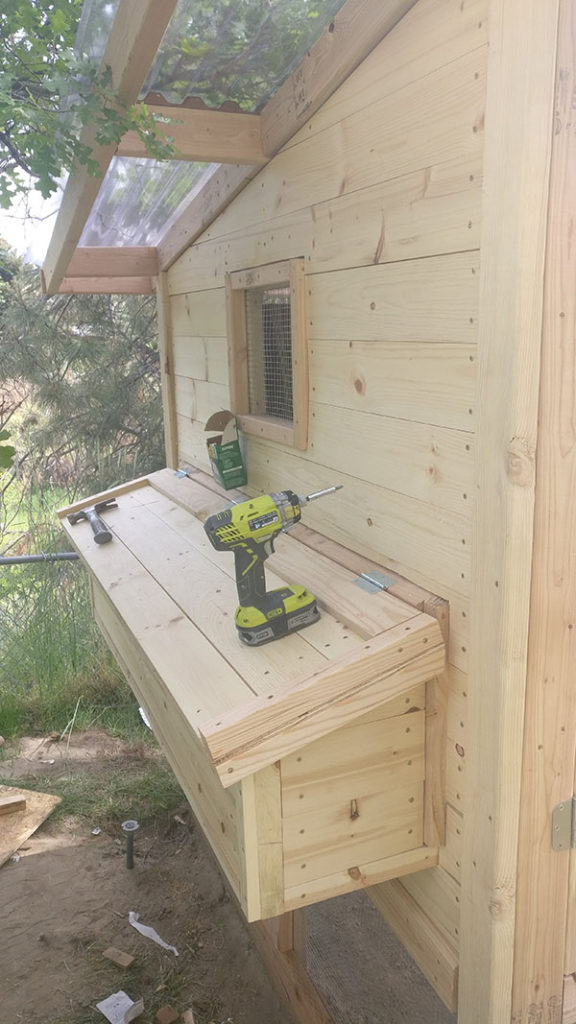
Finished the rest of the lap siding and a ramp
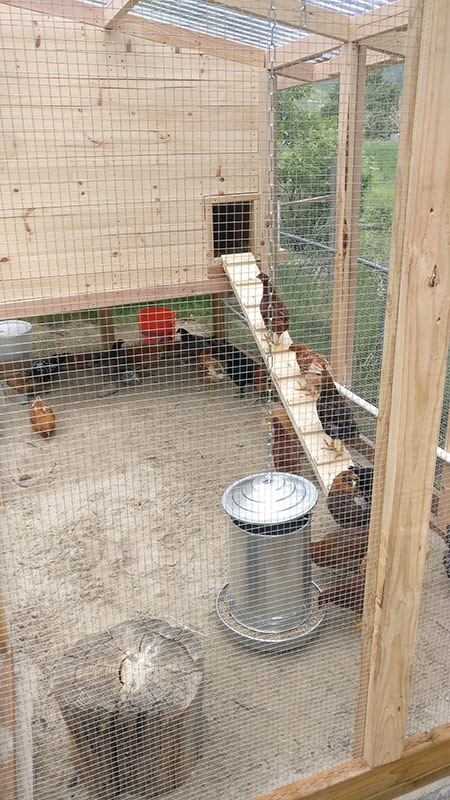
Step 10: Roosting Bars and Ramp
Add roosting bars and an accessibility ramp to the hen house.
These are those small necessities that turn your chicken coop into a happy accessible home for your chickens. The first is roosting bars so your ladies can be elevated while you sleep. Add enough that your hens can snuggle together on the interior of the hen house. The bars are pieces of wood that straddle the hen house horizontally.
The second is a ramp for them to climb in and out of the hen house. I simply took a 6-inch wide wood plank and screwed other 1 x 2 strips to it.
Step 11: Additional Items to Make Your Life Easier as A Chicken Owner
Install automatic watering and feeding system.
Chickens LOVE to poop on everything, their water and feed included. To combat this, on the back of the coop I added a bucket stand for my watering system. I think I will add a post covering how I put the system together soon. I highly recommend making something similar if you own chickens. Having a good watering system makes it almost feel like cheating. In a nutshell, the bucket connects to PVC tubes that carry water into the run where the chickens peck on water nipples. (Later on, I will make another post explaining my winter setup.)
https://www.youtube.com/watch?v=r0R70C2FoPs
For the feeder, get a long chain to hang from the roof for your chicken feeder. Hang it so the chickens can easily peck at the food. They won’t jump on it because it will swing. I’m also thinking about adding a hanging trough for kitchen scraps.
Finally, add some pine shavings to the hen house and soon you will be swimming in fresh eggs!
Thanks for checking out my post on how to build a chicken coop. I really hope that you found it helpful. I have been raising chickens for several years now and I love it. Please feel free to ask me questions, or comment below.
And just for you, if you made it this far, I’ve compiled some of the chicken coop-making item links on Amazon so you can try them out on your own chicken coop build.