I was thinking the other day about Christmas…Yes, Christmas has been on my mind for the last couple of weeks. I always end up waiting until Thanksgiving then I’m wiped out from the Thanksgiving holiday and don’t have time to really do Christmas the way I want.
Not this year…
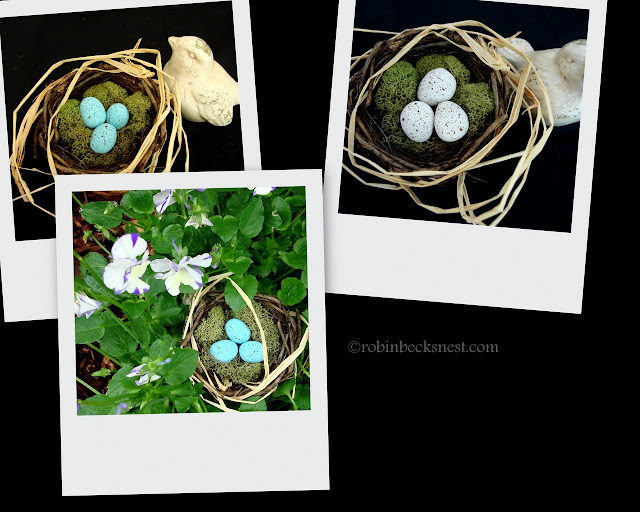
I try to have 3 to 4 different themed trees in my house for the holidays and one always has to do with birds and nest…Hence the need for eggs and I do not like the look of the plastic eggs that you can buy at crafts stores plus so many of them are the wrong color for my taste. So I wondered why couldn’t I make my own? I am somewhat embarrassed to post this because many of you probably already have this figured out…This idea just hit me one day and I figured this would probably work for my crafting needs. I really do like how they turned out~
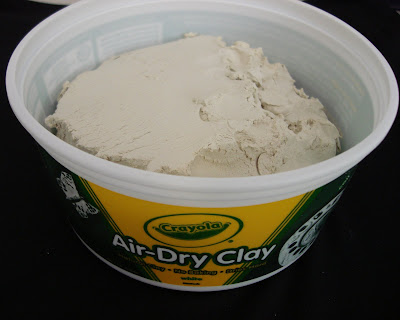
Step 1: Purchase yourself some air dry clay. I’m sure any type of clay will work just fine. They do have clay you can bake in your oven. I would recommend a toaster oven used just for crafts for health reasons.
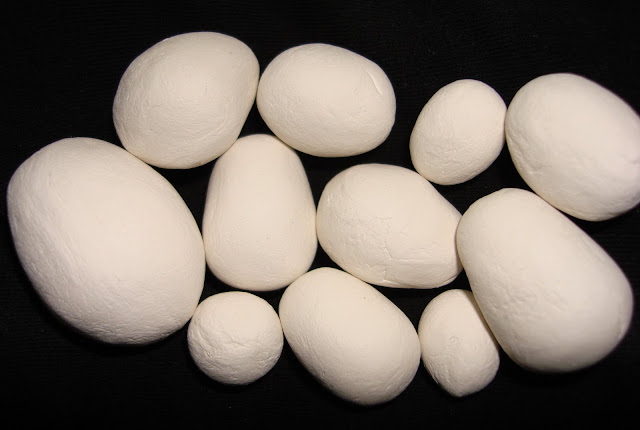
Step 2: Roll the clay in between your hands to form a ball then use your fingers to roll the top of the ball to look like a egg~Note: Use a little more clay then each size egg you want to allow for shrinkage.
Repeat for how many eggs you desire.
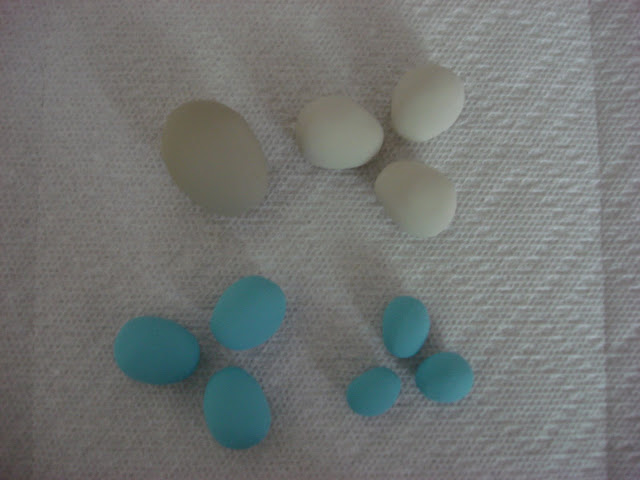
Step 3: Allow eggs to dry-I read somewhere that it takes 24 hours-not true give it 4 to 7 days and remember they will shrink. Pictured below are eggs dry but not sanded.
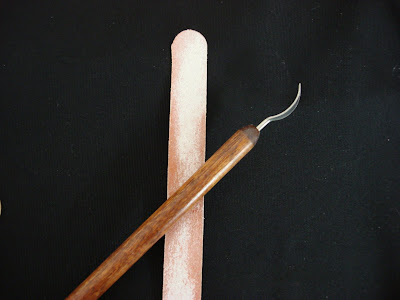
Step 4: Sand eggs…A emery board and/or a Kemper clean up tool (pictured below) works great. Sanding helps smooth out the eggs and lets you shape them to look more like real eggs.
Note: If you roll them correctly the first time you probably could skip this step-
Note on the last note: I will always have to sand mine.
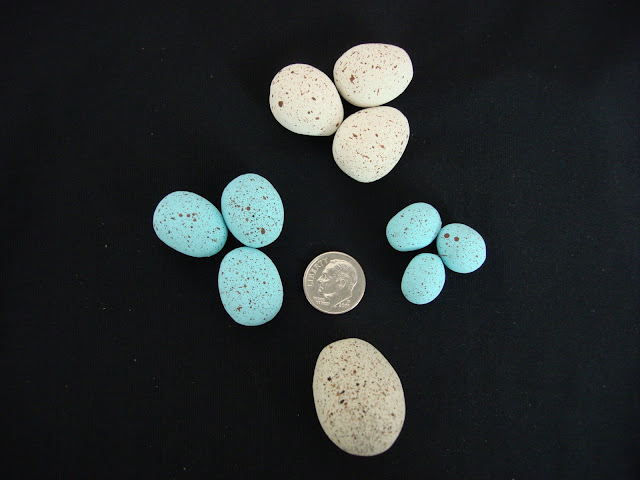
Step 5: Paint with Acrylic paint colors that you want. Allow to dry which takes just minutes. For the Robin’s eggs I used Delta Ceramcoat “Paradise” Opaque # 02587. For the lighter eggs I mixed 1/2 Craft Smart”Suede” # 23625 and half Craft Smart “white” #23606 to make the lighter color I like.
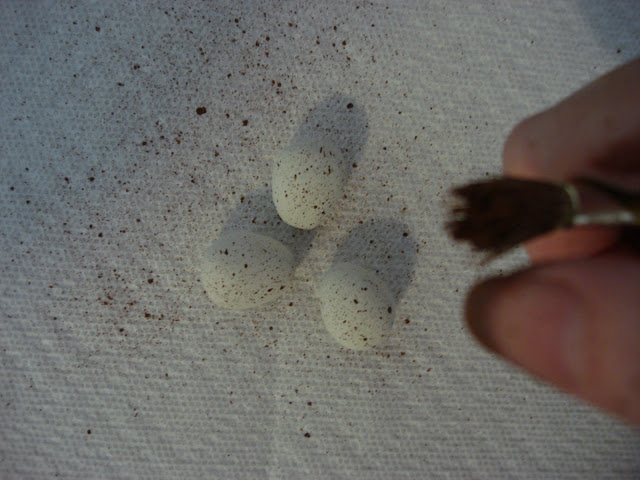
Step 6: Speckle with stiff brush or tooth brush in the colors that you like. Allow to dry-Once again drying take minutes. I used brown and black paint to speckle my eggs.
Step 7: There is not a step 7-You are ready to use or store your eggs~!